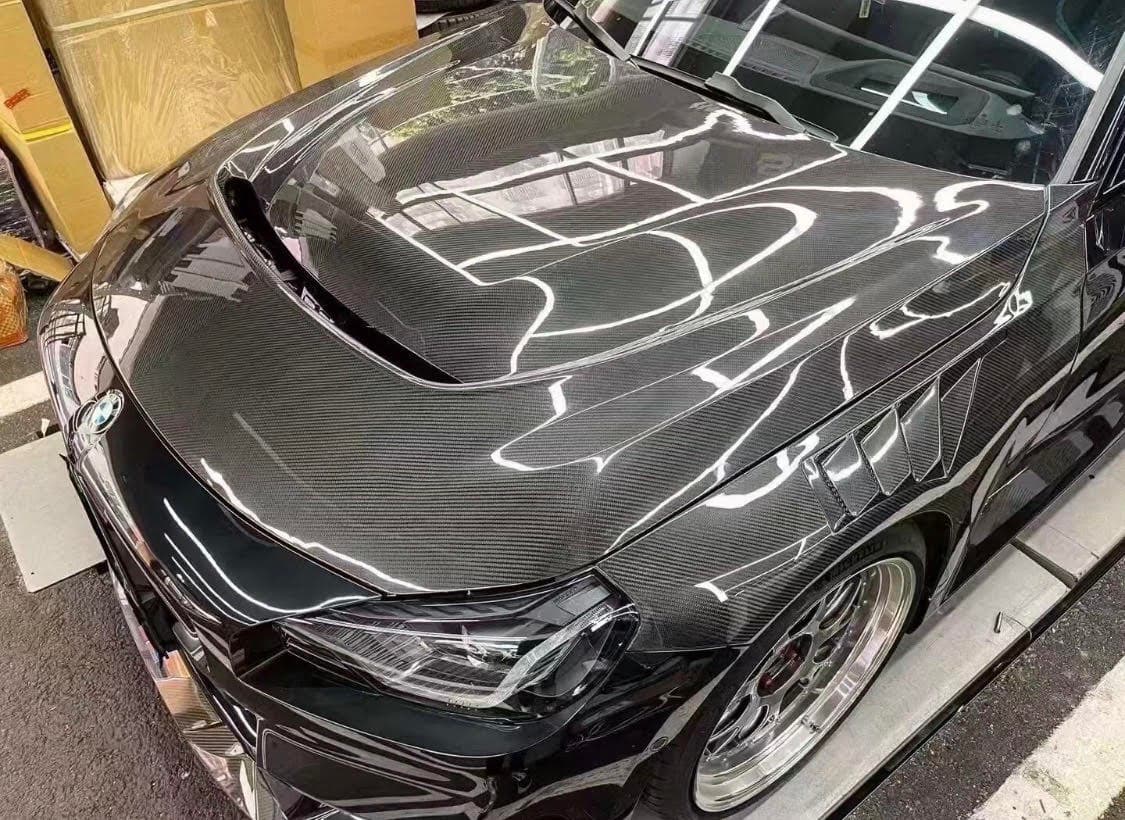
Dry carbon and wet carbon are both real carbon fiber. The difference is how the resin gets into the cloth and how the part is cured, which decides weight, stiffness, how straight the weave runs and what you pay. Buy dry for a hood, a diffuser or anything you will look at from a foot away; a well-made wet spoiler is a fair buy if the weave is straight. Either way the clear coat fails first, and the care routine is the same.
The two ways a carbon part gets made
Dry carbon starts as prepreg, cloth that arrives with its resin already measured in, kept frozen until use. The layers are laid into the mold, bagged and cured in an autoclave under heat and pressure. Pressure squeezes out excess resin and air, so the finished laminate is mostly fiber. That is where the weight and stiffness come from, and why the weave stays straight over a curve. The tacky cloth holds where it is placed.
Wet carbon starts as dry cloth. It is laid into the mold and resin is worked in by hand, or the mold is bagged and resin pulled through under vacuum. Either way it carries more resin than prepreg, and resin is dead weight. The cloth is loose while it is wetted, so it shifts in corners and the weave pinches where the shape gets tight.
Both end up under a clear coat, thin on dry and usually thicker on wet to fill surface texture. Many wet parts are also one carbon skin over fiberglass, which is fine if the listing says so. "Carbon look" and hydro-dipped parts are neither, just a printed pattern over plastic.
How to tell them apart in your hands
| Check | Dry carbon | Wet carbon |
|---|---|---|
| Weight | Light for its size; you can lift a hood by one corner | Noticeably heavier for the same part |
| Weave over curves | Straight and even into the corners | Pinched, twisted or stretched where the shape tightens |
| Surface under the clear | Flat, crisp weave with visible depth | Resin-rich spots, pinholes, glassy pools in recesses |
| Edges | Weave runs to a dense, dark trimmed edge | Cloudy or filled edges, sometimes visible filler |
| Back side | Dull, textured, cloth visible, nothing running | Drips or pooled resin if hand-laid; a bagged wet part can pass for dry here |
Follow one line of weave from the flat area into the tightest curve. On a dry part it stays a line; on a wet part it bends, bunches or disappears under resin. Tilt the part. A real weave has depth and shifts with the angle; a print does not.
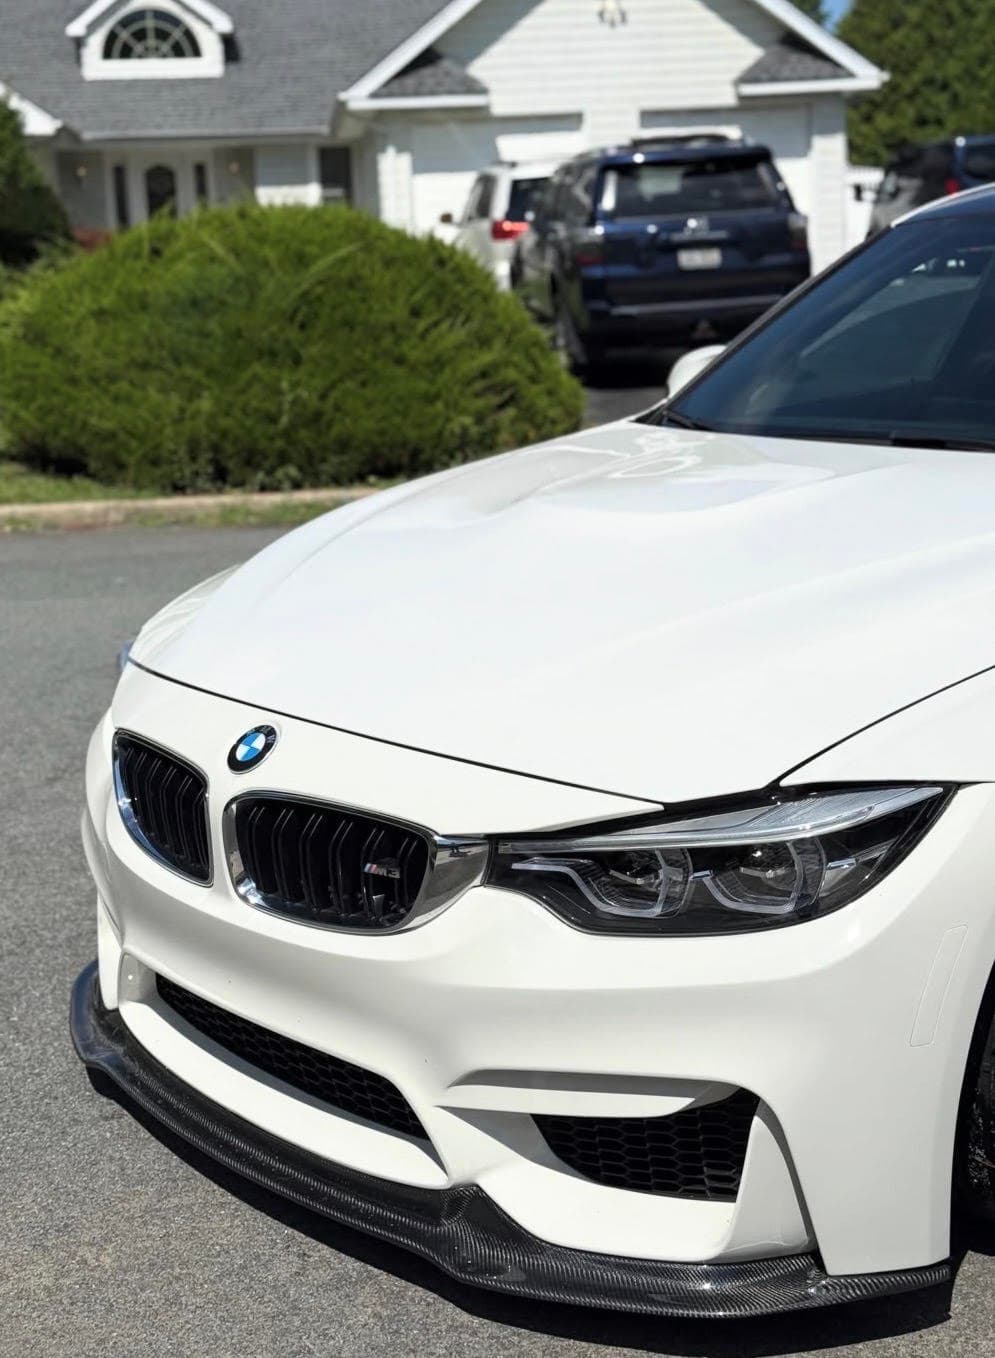
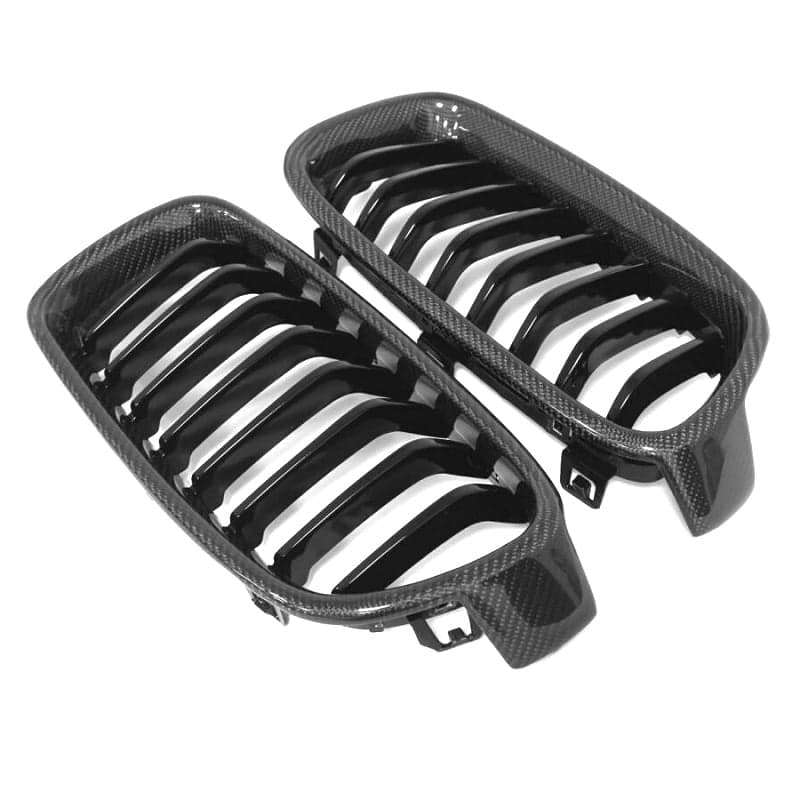
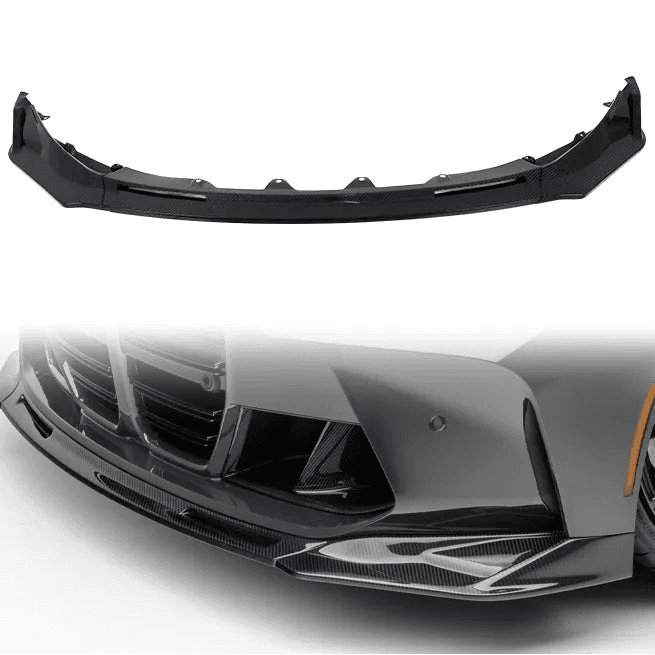
Where a part is dry carbon, the listing says so. The F8X V style front lip and the F-series dry carbon grilles carry it in the name; others carry it in the description. If a listing does not say, ask through the contact page before ordering.
Which one to buy
Put your money into dry carbon where weight, stiffness or close inspection matter.
A hood is the clearest case. It is the biggest panel you will replace, sits flat under the sun, and has to hold its shape at speed and over engine heat. The G87/G42 N style hood is a direct replacement with functional vents; on a panel that size the construction is most of what you are paying for, so confirm it with us before you order.
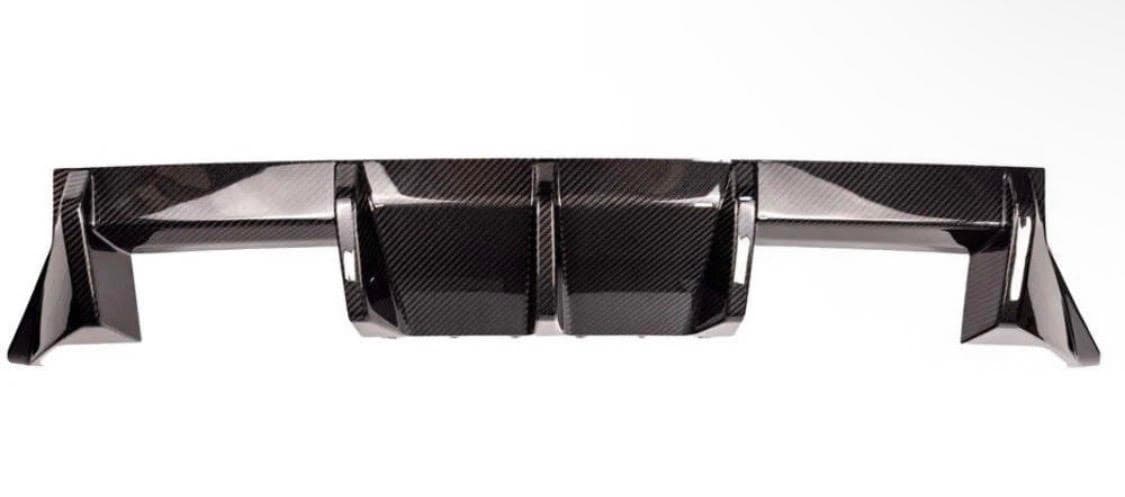
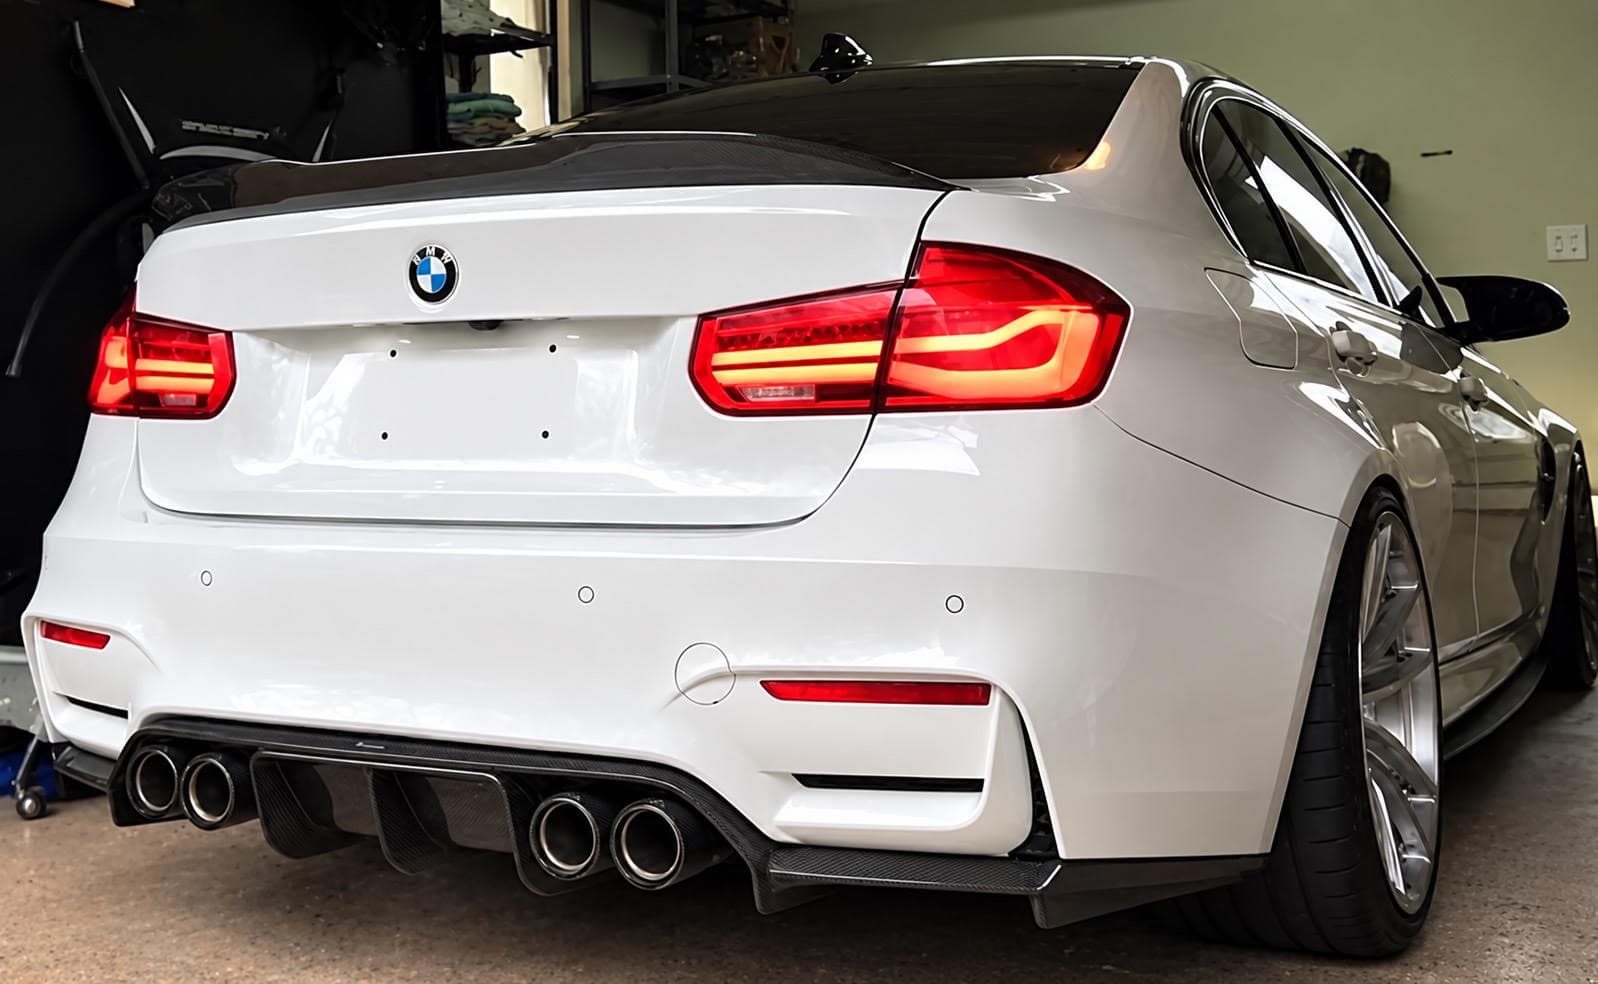
Diffusers take exhaust heat, front lips take curb hits, and both live low and carry fins or blades that flex if the laminate is soft. The G87 M2 OEM style diffuser bolts to the factory points, so it has to hold its own shape without tape helping.
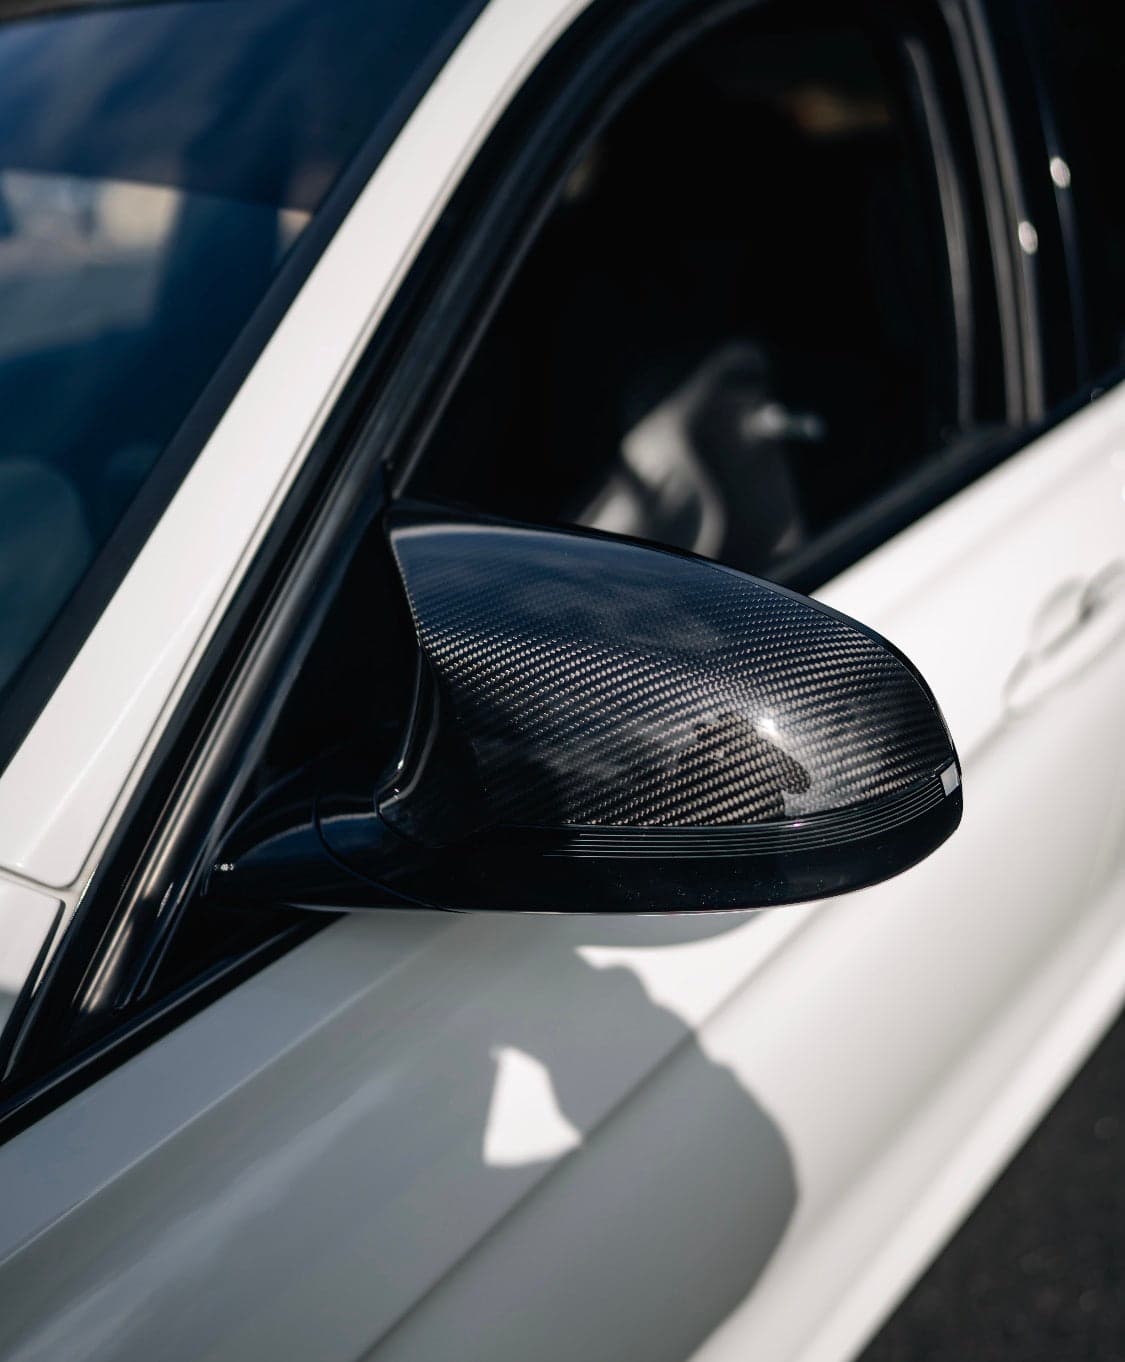
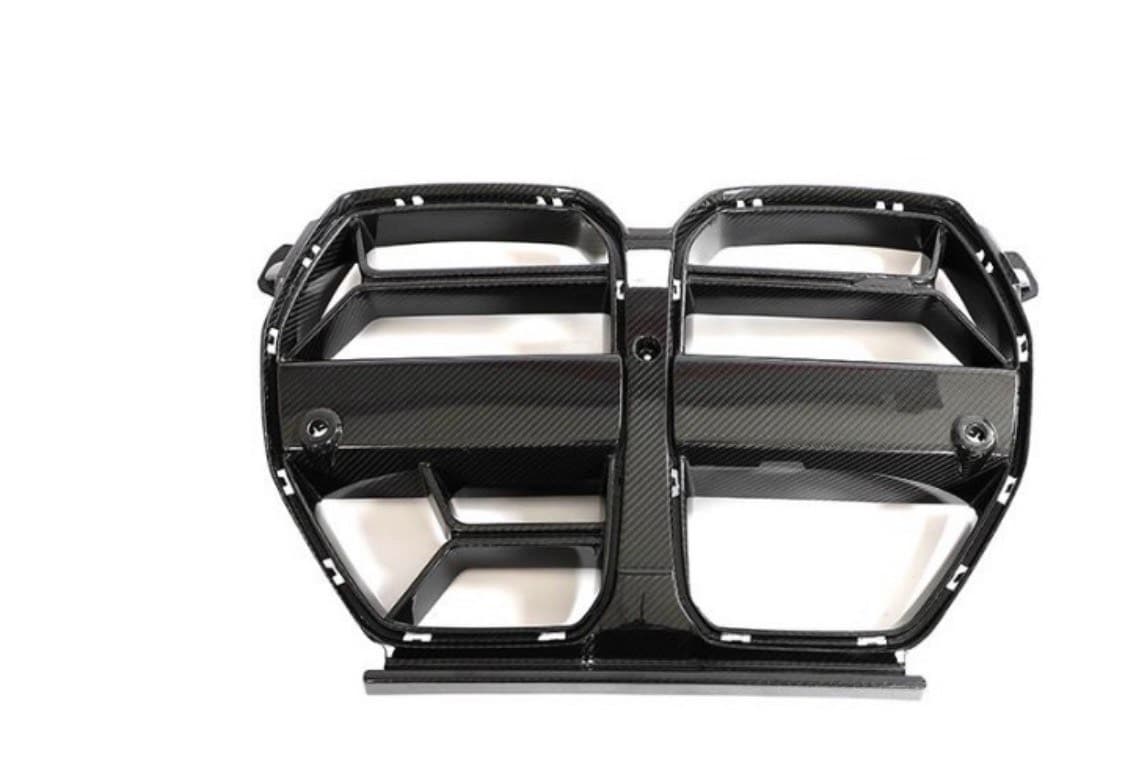
Mirror caps sit at eye level and grilles are the first thing anyone sees from the front, so weave consistency is the whole point. The F8X carbon mirror caps replace the factory cap rather than sticking over it, so there is no join line to hide.
Spoilers are where a good wet part earns its place. A trunk spoiler gets looked at from across a parking lot, not from a foot away, and you will not feel the weight difference on a trunk lid, so whichever construction the listing states, judge it by the weave. The F8X PSM style spoiler is the high-kick shape, and the F80 sedan and F82 coupe trunk lids take different spoilers, so select your chassis on the listing.
If you are still choosing a shape, the aero styles post explains what PSM, V, MP, CS and CSL mean on a listing.
Keeping it looking new
UV does the damage. The fiber does not fade; the resin and the clear coat over it do. Enough sun and the clear yellows, then hazes, then chalks, and once it has gone through the coat it does not polish out. Shade is the cheapest protection there is, and a cover if the car lives outside.
Wash it like paint, not like a wheel. Use pH neutral shampoo and a clean mitt, and rinse the grit off before you touch it. Degreasers and wheel cleaners strip protection, and some dull a matte clear on first use.
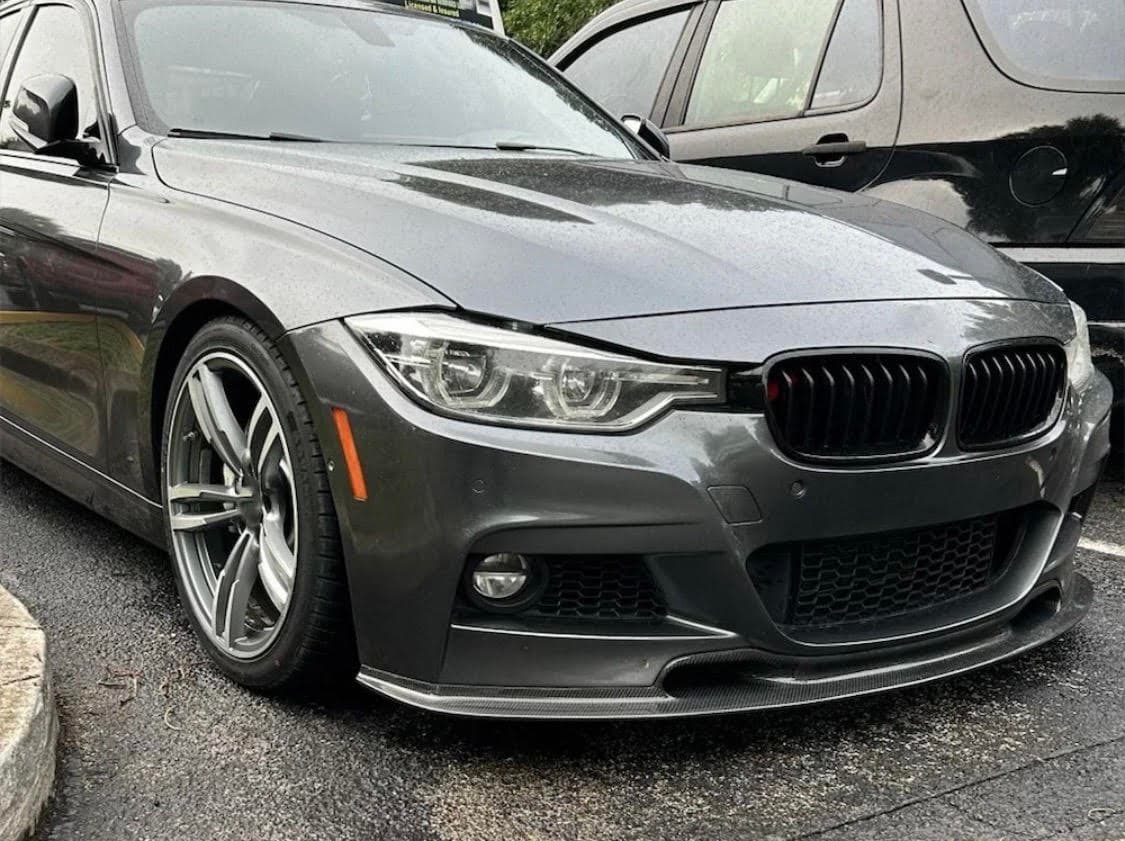
On a gloss finish, coat it or film it. A ceramic coating adds a hard layer that takes the washing instead of the clear; most makers claim some UV protection, so check the data sheet. Paint protection film blocks UV and takes stone chips, which matters on a lip such as the G8X front lips that sit a few inches off the road.
On a matte finish, skip polish, wax and any gloss sealant. Anything that levels the surface turns a matte patch glossy, with no way back short of refinishing. Use a sealant or coating rated for matte, and stick to the soap.
Swirls on gloss carbon are in the clear coat, so treat them as you would clear on paint. Use a finishing polish by hand or on a soft pad at low speed, and stop the moment the defect is gone. The clear is not always thick; if the weave starts to look flatter or lighter, you are through it.
Install day
Most bolt-on aero attaches with 3M-type double-sided tape plus hardware. The failures we hear about trace back to three things: a surface that was not clean, tape applied in the cold, or a part washed before the adhesive had set.
The order that works:
- Inspect in daylight and confirm the part matches your bumper. A facelift can change a bumper; if you are unsure whether your car is pre-LCI or LCI (Life Cycle Impulse, BMW's mid-cycle facelift), the pre-LCI vs LCI post shows how to check.
- Test-fit with the backing on. Check the gaps at both ends and the middle, and see where the hardware lines up. Adjusting a bracket is easy now and miserable once the tape has grabbed.
- Run painter's tape along the top edge of where the part sits, with marks at the center and both ends. You line up to this tape, not to the car.
- Clean the mounting surface with isopropyl alcohol and let it flash off. Wax, sealant and coating residue are all release agents as far as tape is concerned.
- Use the adhesion promoter if the kit includes one, where its instructions say to.
- Peel the backing a little at a time from the center out, keeping the part on your tape line. Press firmly along the full length; adhesive needs pressure to wet out, not just contact.
- Fit the hardware. Where screws, clips or brackets are supplied, use them with the tape. On a lip at road-debris height, tape alone is not a plan.
- Leave it. Adhesive strength builds over time. Follow the tape manufacturer's cure guidance before the first wash or hard drive.
Hoods and diffusers are two-person jobs. A carbon hood is light but large, and a corner caught on a fender edge is the usual damage. Transfer the latch, hinge hardware and any insulation the instructions call for, then close it slowly and check that the fender gaps match and the latch catches cleanly, adjusting the hinge bolts and bump stops until they do. On a diffuser, a second pair of hands keeps the fins off the concrete while you find the bolts.
FAQ
Is wet carbon fake carbon?
No. Wet carbon is real carbon fiber cloth and real resin, cured without an autoclave. It is heavier, with a less consistent weave, but it is not a print. The fakes are "carbon look" parts, a pattern printed onto film or plastic.
Can yellowed carbon be fixed?
Light yellowing in a gloss clear can sometimes be polished back, since you are removing clear rather than carbon. Yellowing that has gone through the clear, or any yellowing on matte, needs sanding and re-clearing by a shop that refinishes carbon.
Ceramic coating or paint protection film for carbon fiber?
Both make washing easier and both are sold with some UV protection. Film also takes stone chips, so it suits a front lip, a grille or the leading edge of a hood. A coating is usually quicker and cheaper to apply and suits parts that do not take hits. On matte, use only a product rated for matte.
Is a front lip or spoiler a DIY install?
A spoiler or lip with tape and a few fasteners is a driveway job for someone who takes their time. A hood or diffuser needs a second person, and a hood needs its alignment checked before you drive. If a body shop does it, ask them to use the supplied tape and hardware and respect the cure time.